Test Your Skills 1
Test Your Skills
The Power of ONE
Placing elements on a scrapbook page in a compelling and artistic way can be a struggle, so in this challenge we’re going to meet this struggle head on, grab it by the horns, and wrestle it to the ground!
We’re going to start simple with The Power of ONE.
Each element you see here can be used on a scrapbook page and is typical of elements you’ll find in just about any kit. For your own experimentation, look through your stash of kits and find ONE kit that has lots of elements you like.
We’re not going to create clusters with these elements—not yet—because I want to show you how powerful one element can be.

A Minimal page design is the perfect kind of page to experiment with element placement, so that’s what we’ll do here, but you can just as easily apply the same ideas to other page designs.
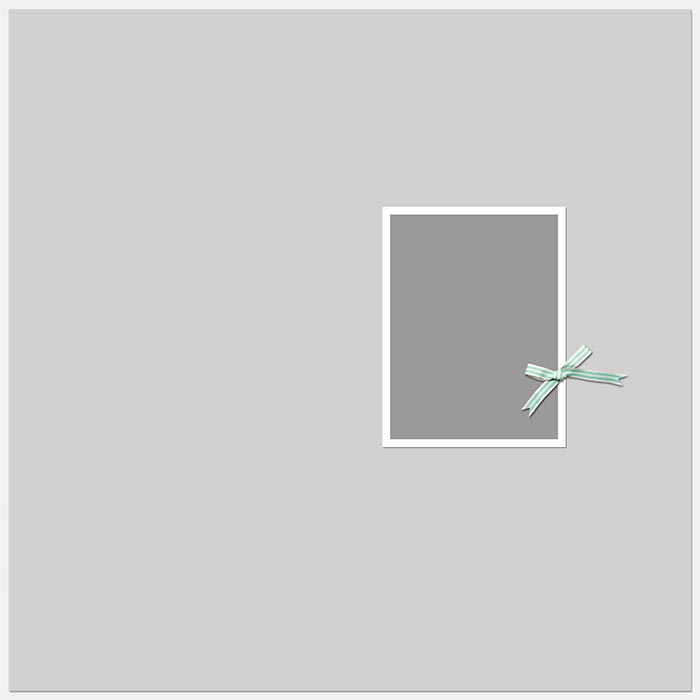
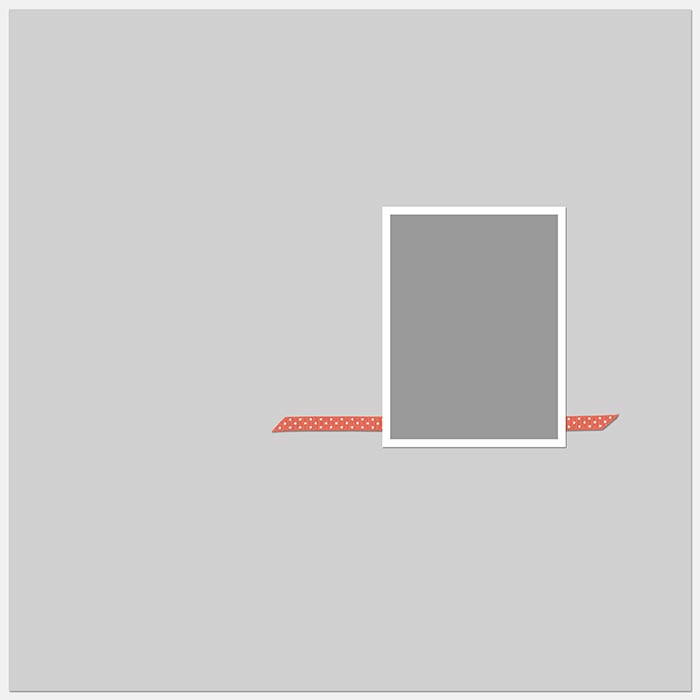
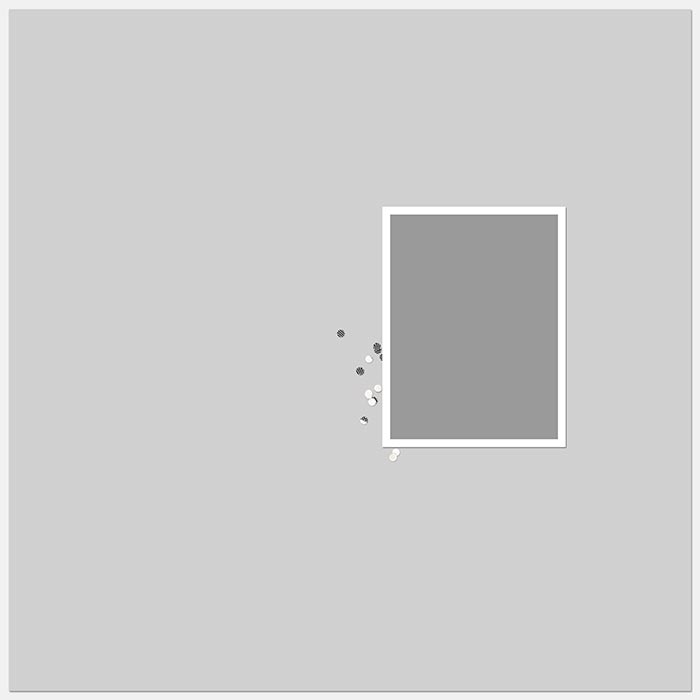
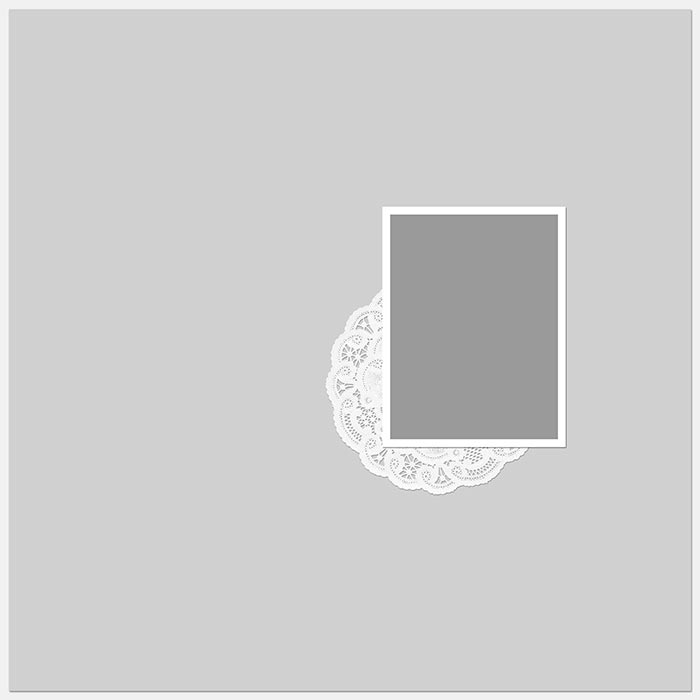
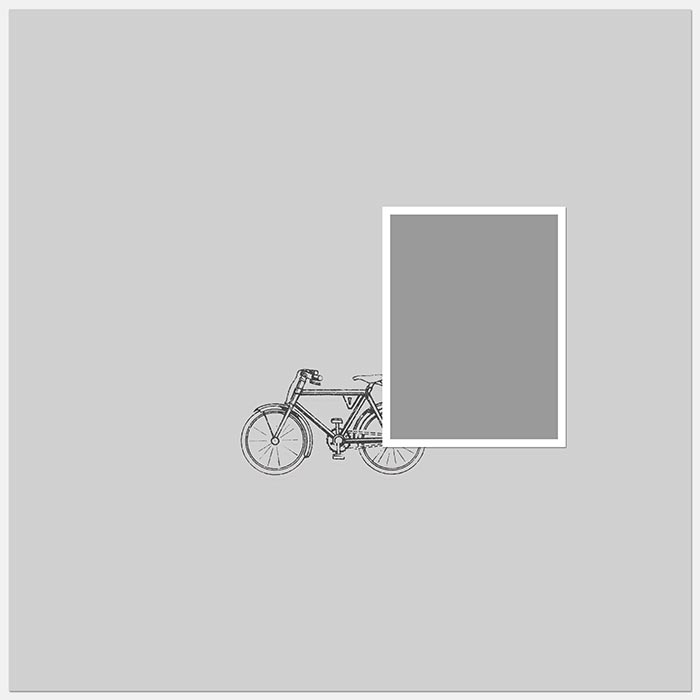
I’ll use this template to show possible placement for one element. Depending on WHERE you place them they will perform a different function:
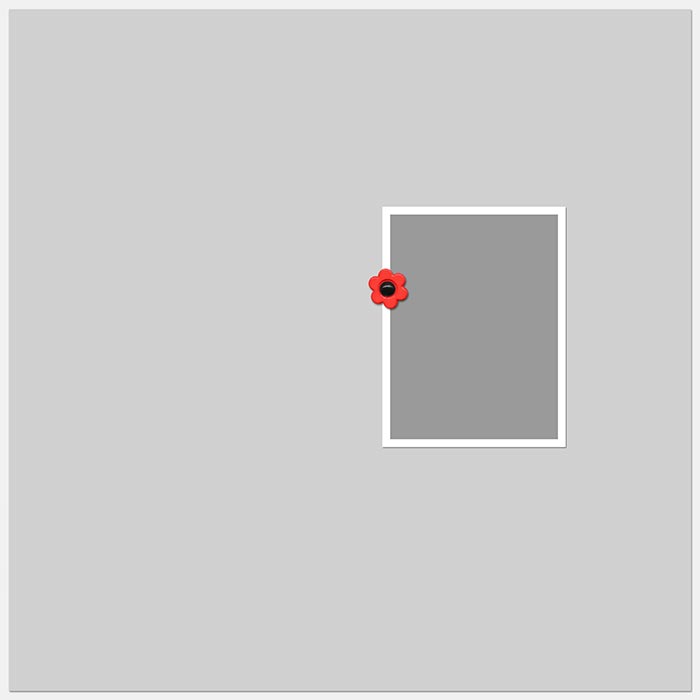
Dependent Elements
These are 3D elements with drop shadows placed on or near a photo for decoration.
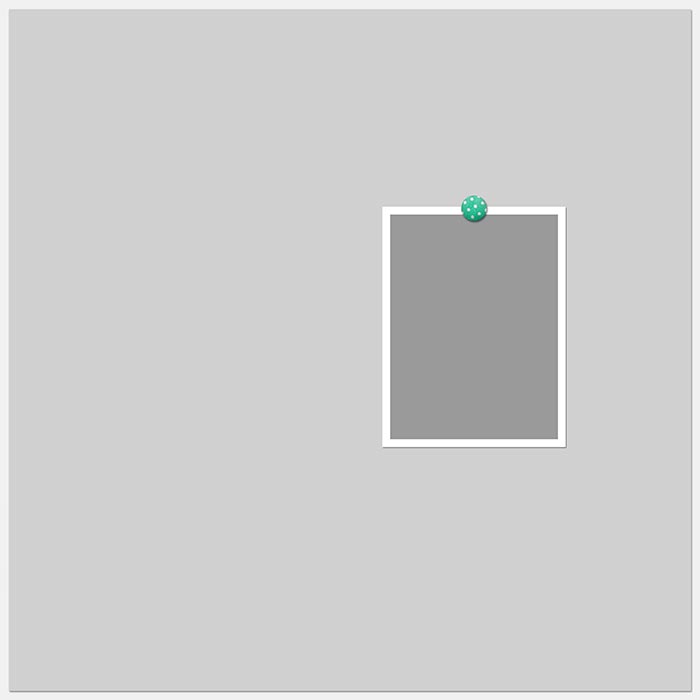
Anchor Elements
These are elements that go behind the photo to make the photo feel more anchored (or connected) to the page. Some of these elements are flat and some are 3D.
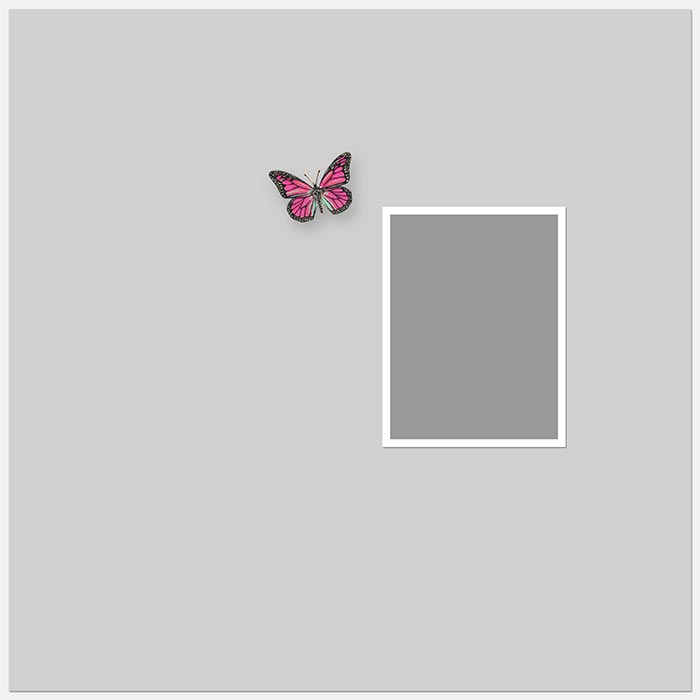
Independent or “Edge” Elements
As the name implies, these are elements placed anywhere on the edge of a scrapbook page for added interest or to influence the flow of the page. These elements can be flat or 3D.
Credit
Template from Design Beautiful Pages

Ready? Look through the Lightbox images to see examples of each kind of element.
Click an image to see a larger size.
Now let’s create a page using the following formula:
- ONE dependent element (near photo)
- + ONE anchor element (behind photo)
- + ONE independent (edge) element
Remember, for this exercise we’re not creating clusters. In clusters the elements are connected to each other, grouped together to form a single decoration. But I want to show you how powerful just a single element can be, so I’ll use three individual elements in three different ways on one page.
Look at this photo and page. Then look at the elements above and think about which element you would choose from each section and where you would put it. (It doesn’t have to be in the same place as the example.)
There are lots of possible good arrangements!
NOTE: For the purpose of this challenge, Type is not considered an element, so that can be added as part of the overall design.

SEE what I did
Here are three examples of how to place the three kinds of elements to create a lovely, yet simple page design.
Credits
Page by Linda Sattgast
Kit: Spring Has Sprung by Mommyish
Font: 1942 Report

Credits
Page by Linda Sattgast
Kit: Spring Has Sprung by Mommyish
Mask: Seaside Vacation by Digital Scrapper Designs
Font: 1942 Report and Trocchi

Credits
Page by Linda Sattgast
Kit: Spring Has Sprung by Mommyish
Artstroke scribble: APP My Camera by Anna Aspnes
Font: 1942 Report


Conclusion:
Choosing elements doesn’t have to be difficult. If you’re having trouble coming up with ideas for decoration, use the 1+1+1 formula and keep it simple!
Brought to you by Linda Sattgast
