Test Your Skills 3
Test Your Skills
Blending With Masks & Photos
In my instructional video on blending I talk about using masks as blending agents on your scrapbook pages. A mask looks blended because it’s a 2D element where the edges appear to be on the same plane as the background.
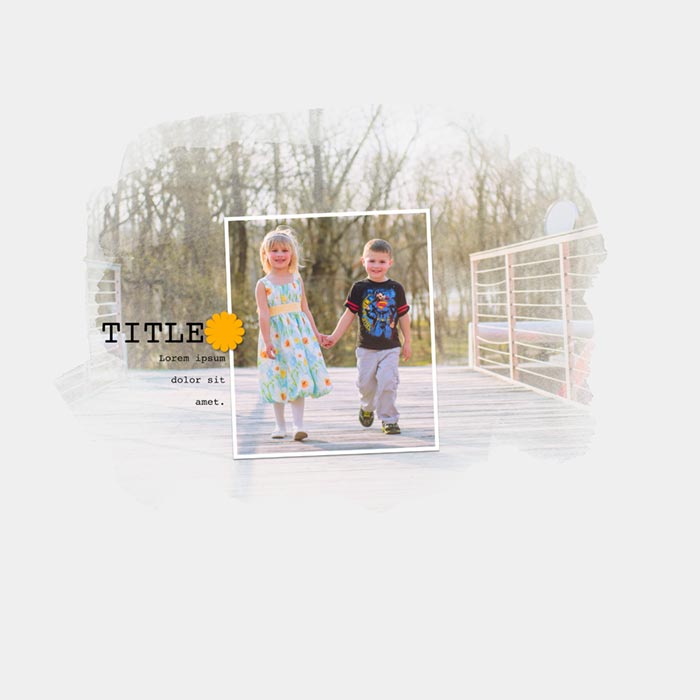
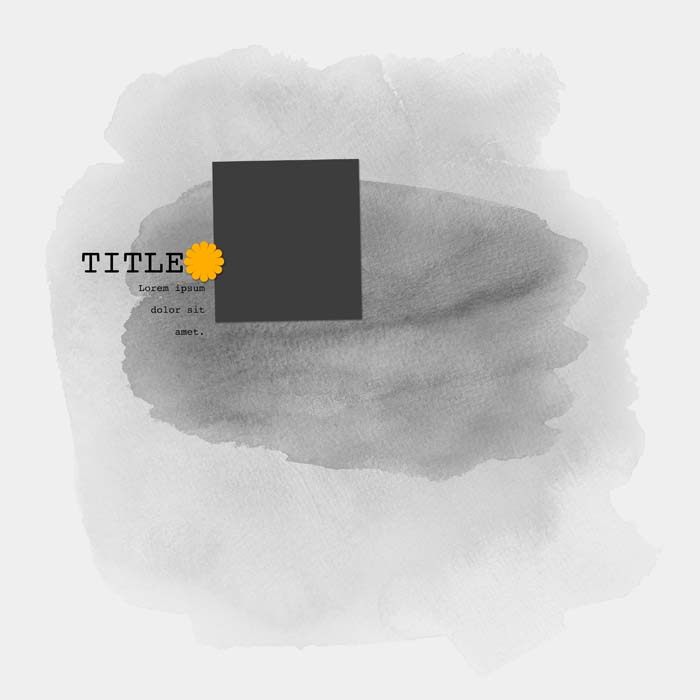
In this challenge we’ll use Template #07 from your downloads to think a little bit more about masks and how to use them.
Question
How many ways can you think of to use the masks in this template on a scrapbook page?
SHOW THE ANSWER
Answer
- Fill the masks with a color that complements your page.
- Change the blend mode of the masks to blend with your background.
- Clip paper to the masks.
- Clip a photo to one or both of the masks.
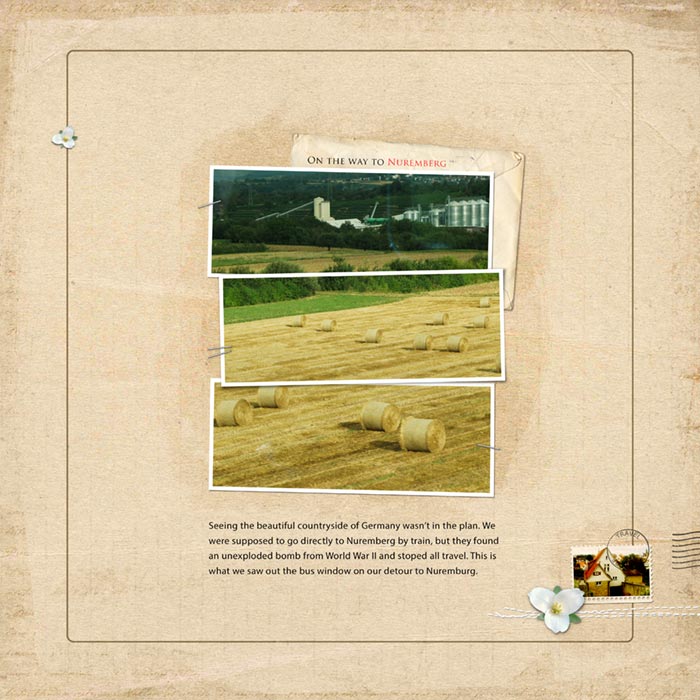
Here’s a page from an album called Travel Adventure that I created quite a few years ago about a trip to Europe. In this version of the page, there are no masks.
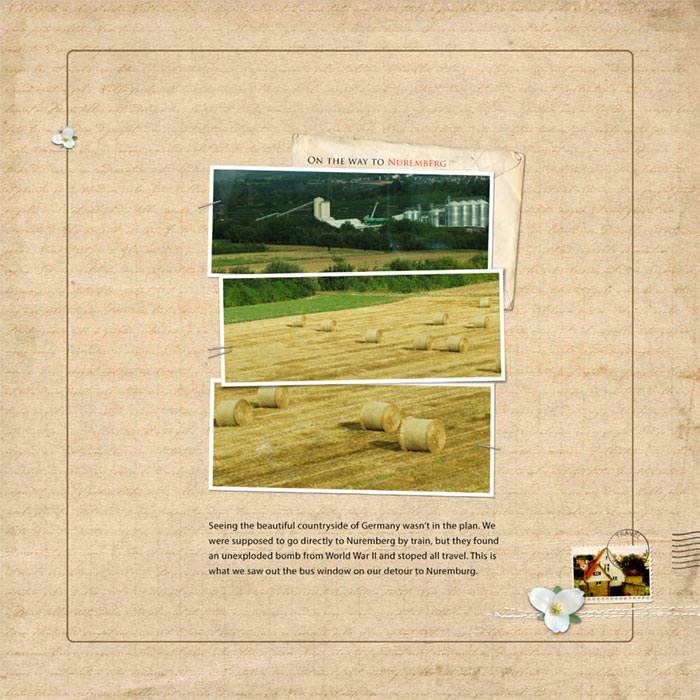
Here I added a layer mask above the background paper and clipped another paper to it. The result is that the background looks perfectly blended together, especially because the colors of the papers match each other so well. So clipping paper to a mask is a viable way to create a blended look. The colors don’t have to match as well as mine did, but the background papers should feel like they fit together, even if they’re different colors.
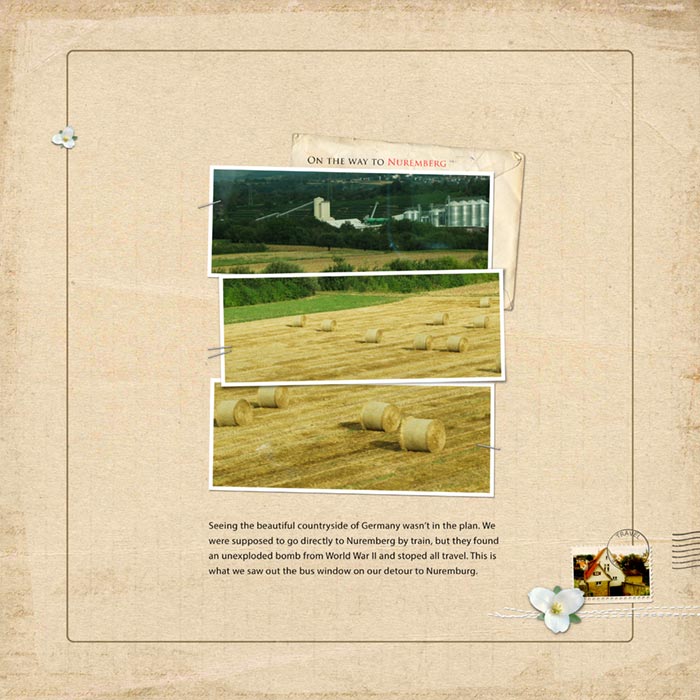
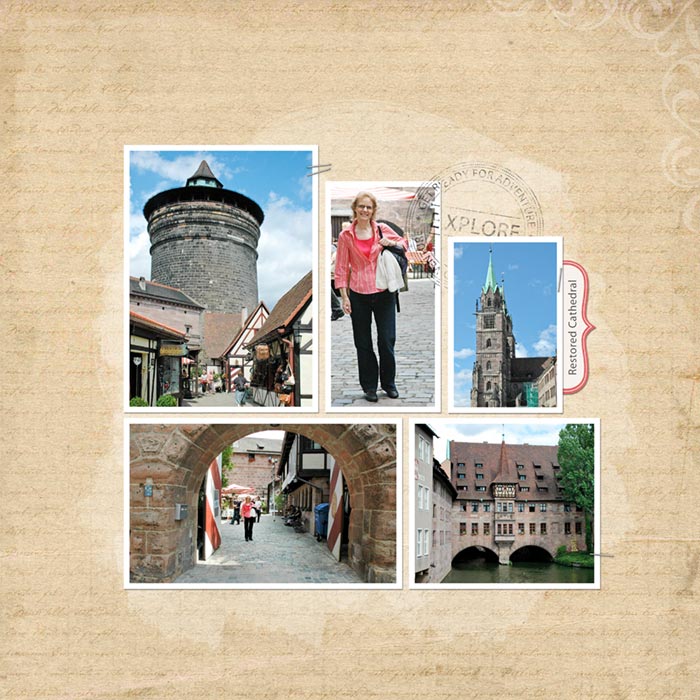
Here I added some black opaque masks above the blended background layers but behind my photos. I changed the blend mode to Soft Light and lowered the opacity to 30% which greatly softened the effect and turned the masks into an anchor element to anchor my photos to the page.
Here’s another page from the same album. I used the same masks, blend mode, and opacity, but I filled the masks with white. So changing the color of the mask, with or without changing the blend mode, is one way to blend papers together.
Travel Album Credits
Photos by Charlie and Linda Sattgast
Design by Linda Sattgast
Kit: Travel Adventure by Digital Scrapper Designs
Fonts: Trajan Pro and Myriad Pro
Resizing Masks
Now let’s talk about resizing masks.
Question
When you resize a mask with the Transform tool, does it matter whether you keep the original proportions or not?
SHOW THE ANSWER
Answer
IT DEPENDS!
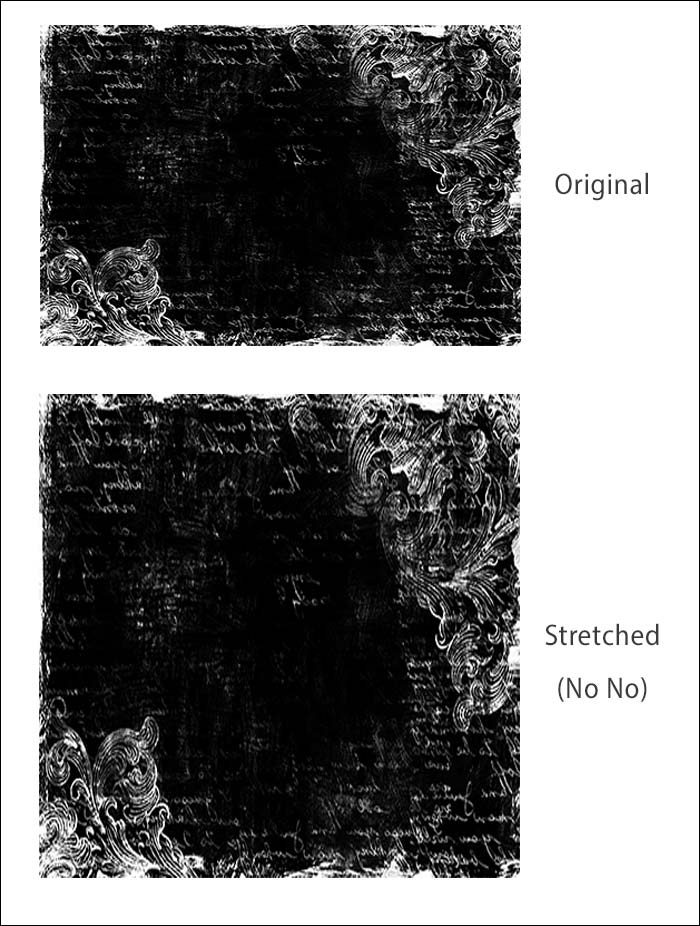
If the mask has anything in it that needs to stay proportional, then you must resize it proportionately.
Credit
Mask from Count The Ways
by Joanne Brisebois
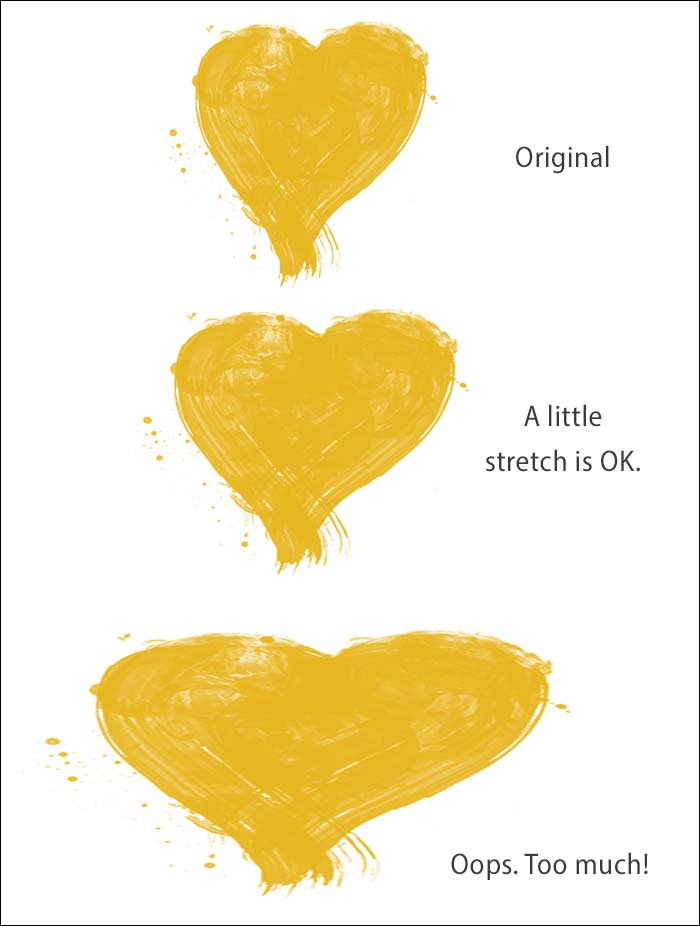
Some masks can be stretched a little, but if you go too far you’ll get an “Oops, you went too far!” vibe.
Credit
Mask from Me Personally
by Taylor Made
Other masks you can stretch to your heart’s content. I rotated and flipped and stretched and resized the lower mask without a twinge of conscience. Then I selected both mask layers and made them quite a bit smaller.
Credit
Template (altered) from Design Beautiful Pages

Clipping A Photo To A Mask
I’m going to use the altered template for my final page, so let’s talk about the kind of photo you might want to use for this template.
This is a specific type of blended template where, if you use one photo, you must follow these rules:
- The overall size of the photo must be, at a minimum, at least as large as the largest mask, which in this template is the bottom mask.
- Move your photo onto the template and clip it to one of the three masks.
- In the Layers panel create two copies of your photo and move each layer above one of the two remaining masks.
- Without moving the copied layers on your document, clip each copied photo layer to the mask below it.
- If you resize the photo, in the Layers panel select all three photo layers and resize them together so they stay the same size and location on your page.
- The focal point of the photo must appear in the top clipping mask that’s completely opaque. This will make the focal point more prominent.
- You’re allowed to flip the photo if flipping it doesn’t cause a problem, and you’re allowed to move the top clipping mask to a new location as long as the final design looks good.
Question
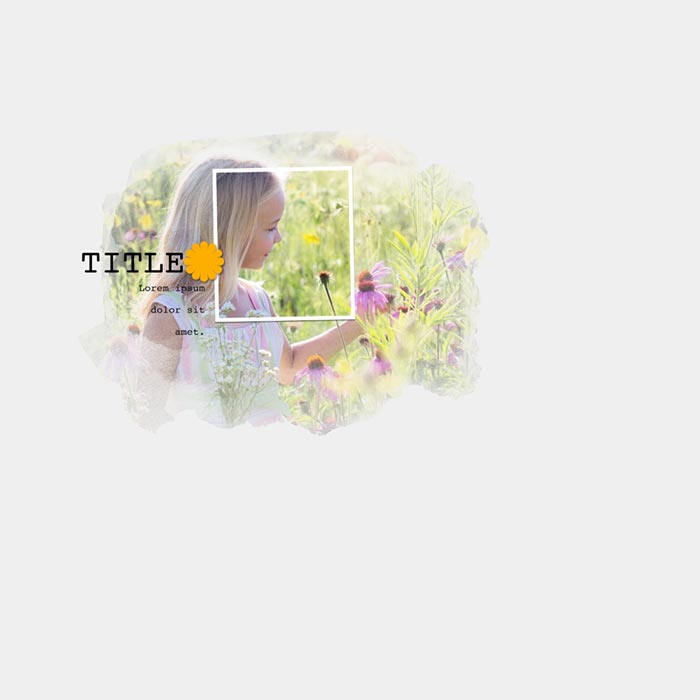
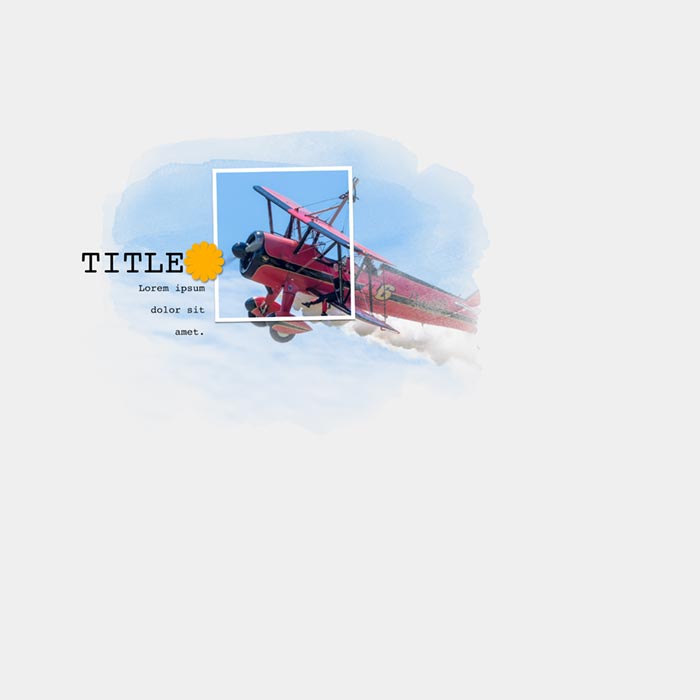
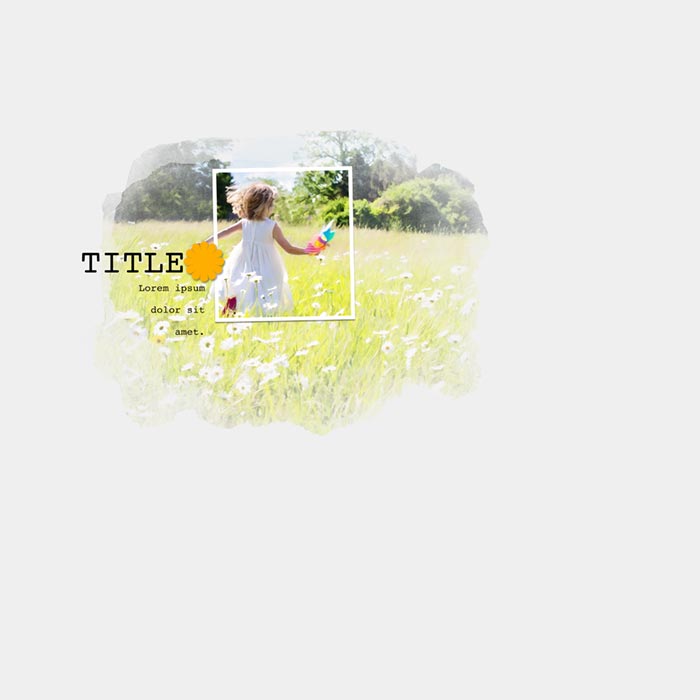
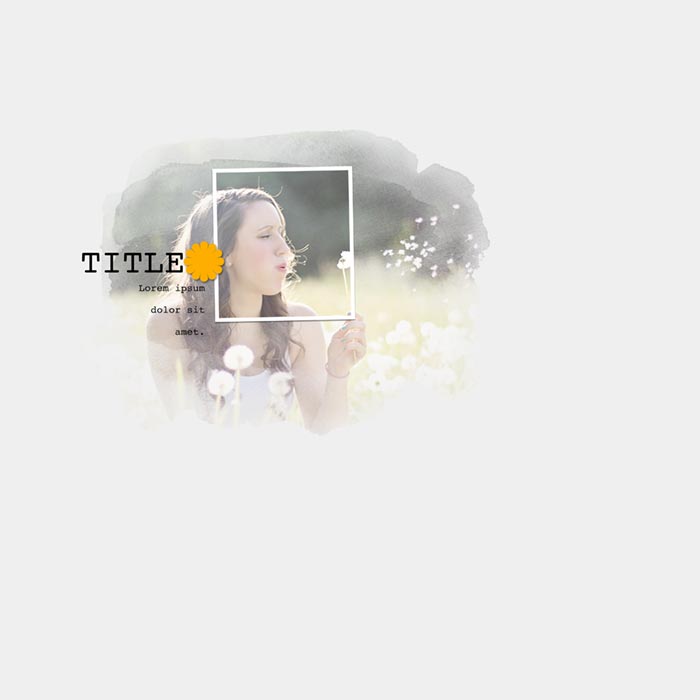
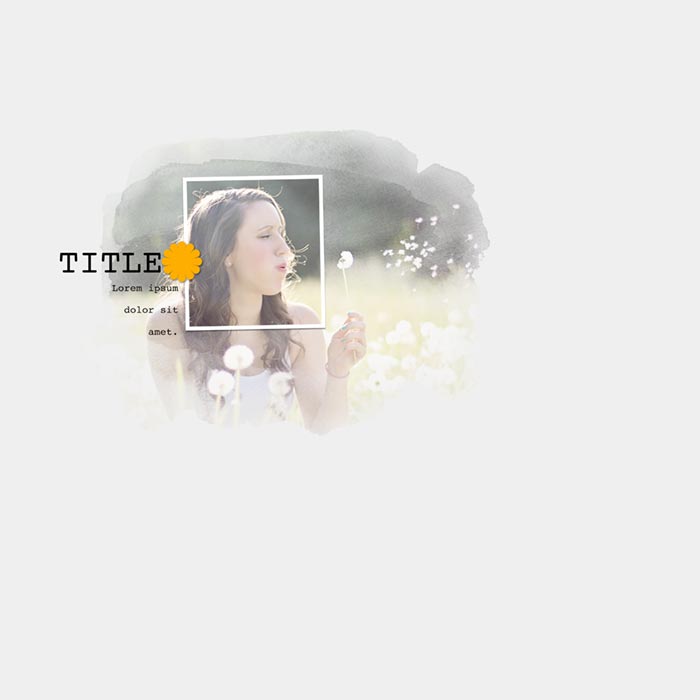
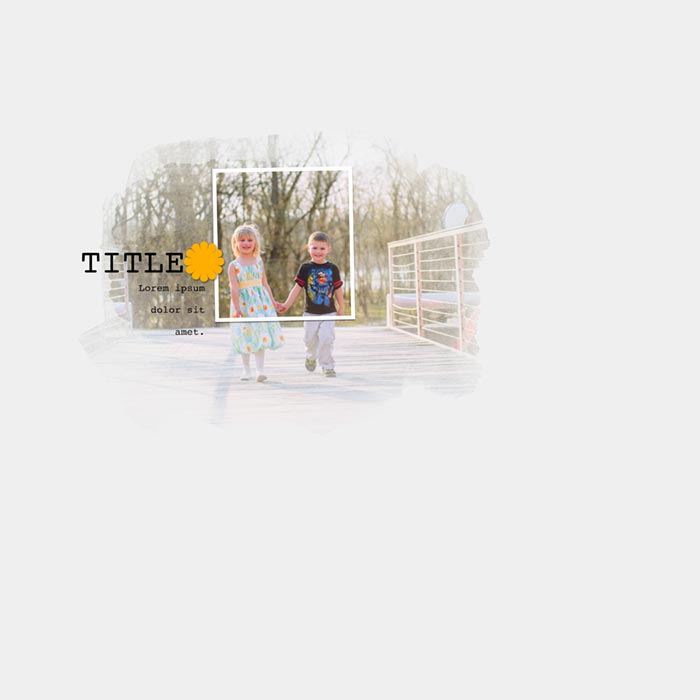
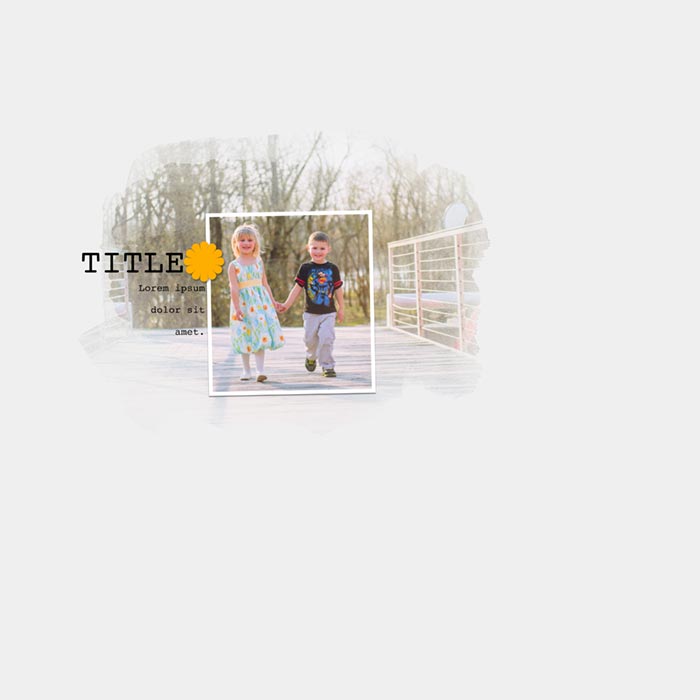
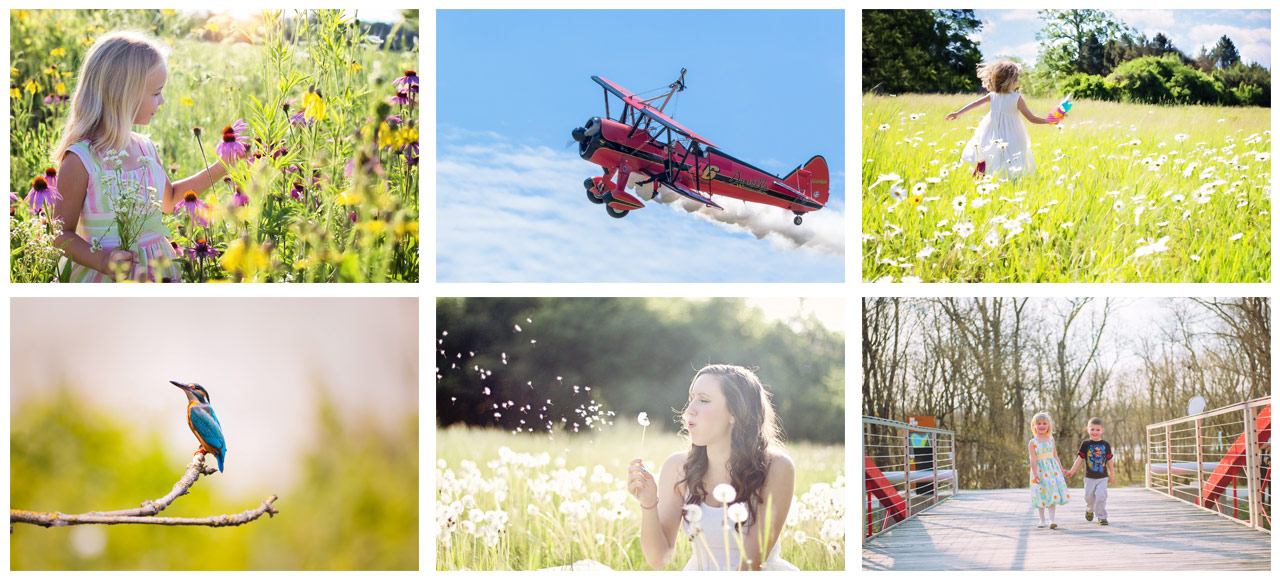
Which of the photos shown here would be a good candidate for this page?
SHOW THE ANSWER
Click on the images to see for a larger version and to read my assessments.
Finish The Page
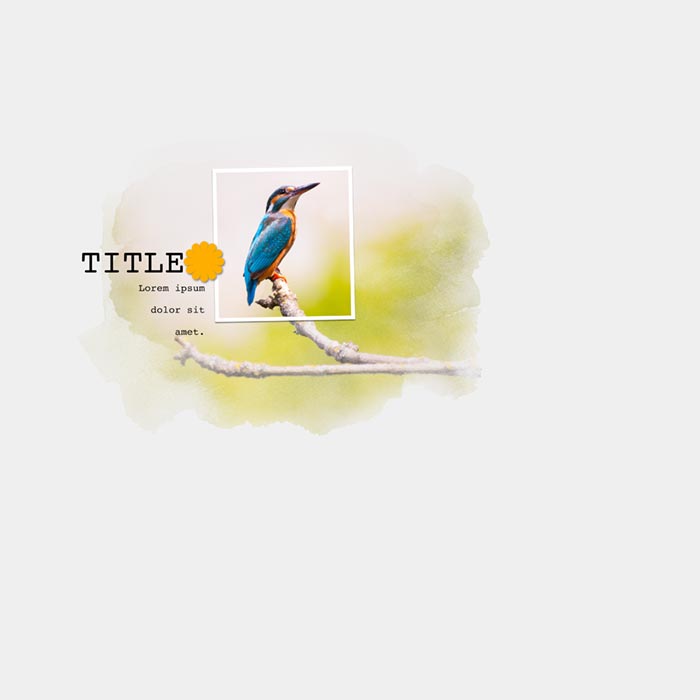
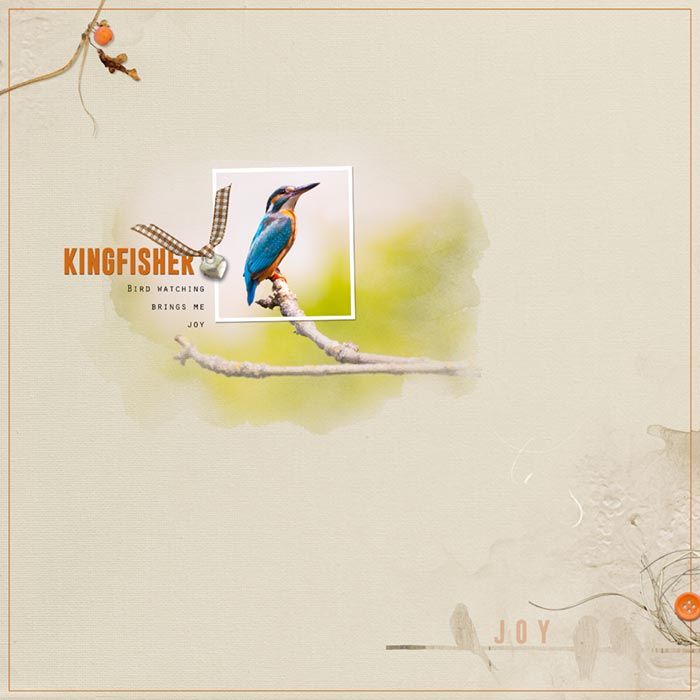
I’m ready to pick my favorite image and finish the page. As you can see, there is more than one photo that would work.
SEE MY FINISHED PAGE
I chose the Kingfisher bird photo.
Credits
Photo by Lukas Bieri
Kit: ArtPlayPalette Kinsfolk by Anna Aspnes
Fonts: GoBold Bold, Orator Std
WRAP UP
Remember the versatility of masks and use them to their fullest:
- Fill a mask with a color that complements your page.
- Change the blend mode of a mask to blend with your background.
- Clip paper to a mask.
- Clip a photo to one or more masks.
- When clipping the same photo to multiple mask layers, choose a photo that shows off this technique well.
Brought to you by Linda Sattgast
