Test Your Skills 3
Test Your Skills
The Power of THREE

We’ve tried one element and then two elements, so it’s time to move up to—you guessed it—three elements!
If you recall, Jen White gave us a formula for creating a great cluster with three elements. If you can’t remember the formula you may want to watch her Design Basics: Clusters video again.
3 Step Cluster Recipe (review)
- Start with a main shape—ellipse or rectangle.
- Add the opposite of that shape in a slightly smaller size.
- Add an ellipse or a rectangle in a much smaller size.
In addition: Place elements above each other in a logical order and make the drop shadows look realistic.
In this challenge we’ll look at Jen’s recipe and one other method to give us a starting point for creating clusters.
Identifying Shapes
Jen’s recipe calls for choosing two kinds of element shapes—an ellipse or a rectangle. Most were easy to classify, but a few elements weren’t as easy to classify.
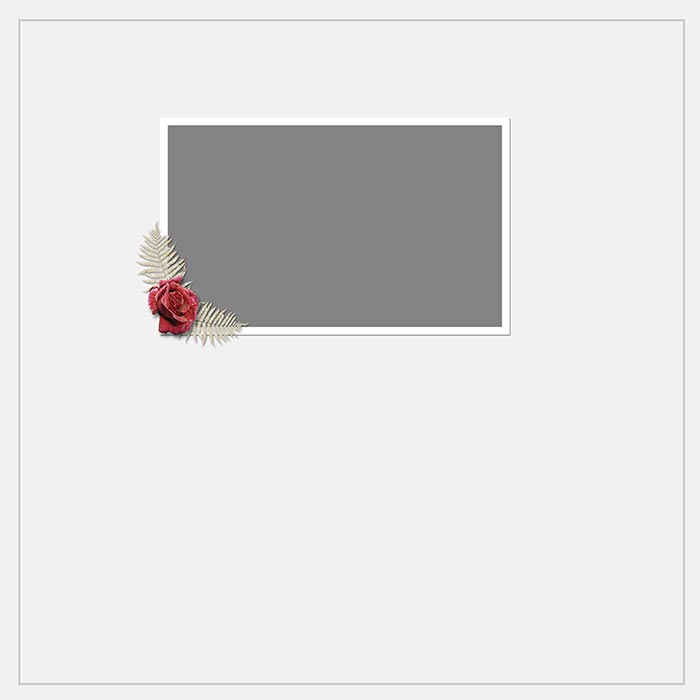
For example, is this leaf an ellipse or a rectangle? The leaf itself looks like an ellipse, but when you add a stem, does that make it a rectangle shape? I decided to ask Ms. Cluster Expert herself. Here’s what Jen had to say:
“When identifying a shape I think in terms of the overall loose shape of the element. Not the actual edges of it. Take your finger and draw a loose shape around the element. If it’s boxy with four distinct sides, then it’s a rectangle. If the loose shape is like a blob with no obvious structure, it’s an ellipse.”
Jen classified the leaf as an ellipse.
Challenge #1: Cluster Practice
If you haven’t yet taken the time to practice creating clusters using Jen’s formula, my first challenge is to do it: pick a kit and create 3 clusters using the 3 Step Cluster Recipe.
Here’s what I created.
Credit
Perfect Harmony by Digilicious
Notice that I didn’t follow the 3 Step Cluster Recipe exactly on every cluster. The rule says each element in the cluster should get progressively smaller. Can you identify which cluster doesn’t follow this rule?

SEE ANSWER
It’s the flower and leaves above the musical notes. The flower element and the leaf element are elliptical shapes that are approximately the same size but slightly offset.
So use your common sense when applying the cluster formula. Variations are OK as long as they look good overall.
Also, keep in mind that this is just ONE recipe. It’s a fast way to get a great looking cluster using certain kinds of elements, but it’s not the only way to create clusters.
Let me show you another way to approach clusters.

SHOW ME
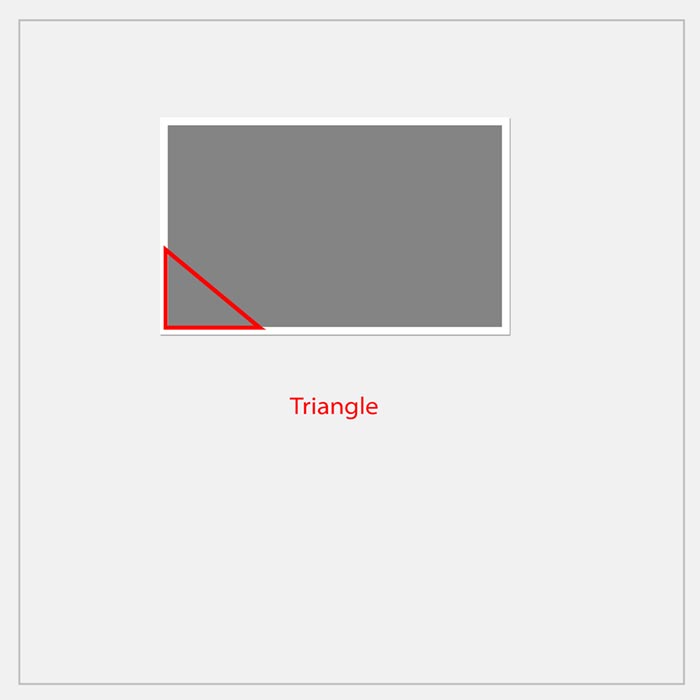
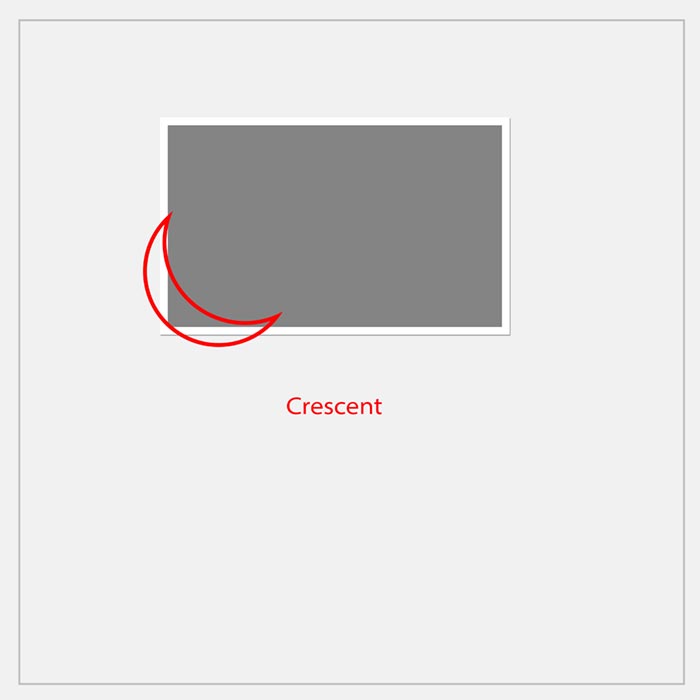
Cluster Shapes
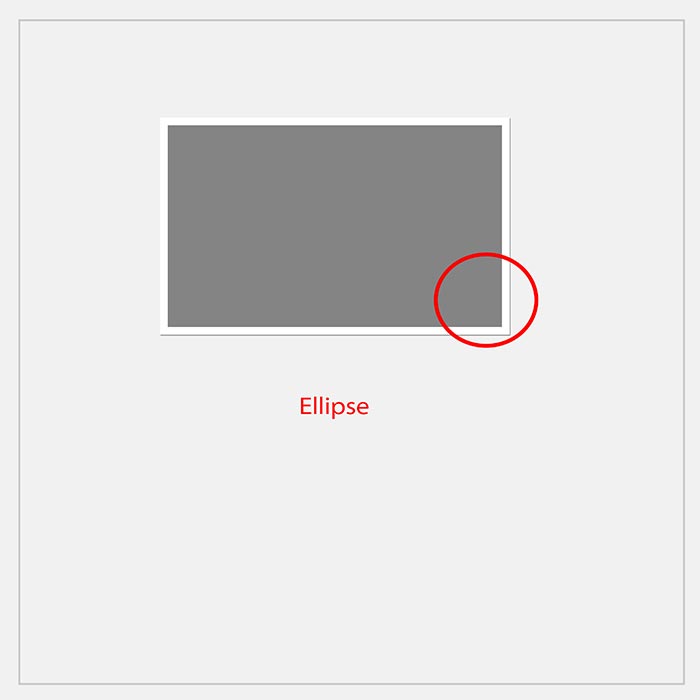
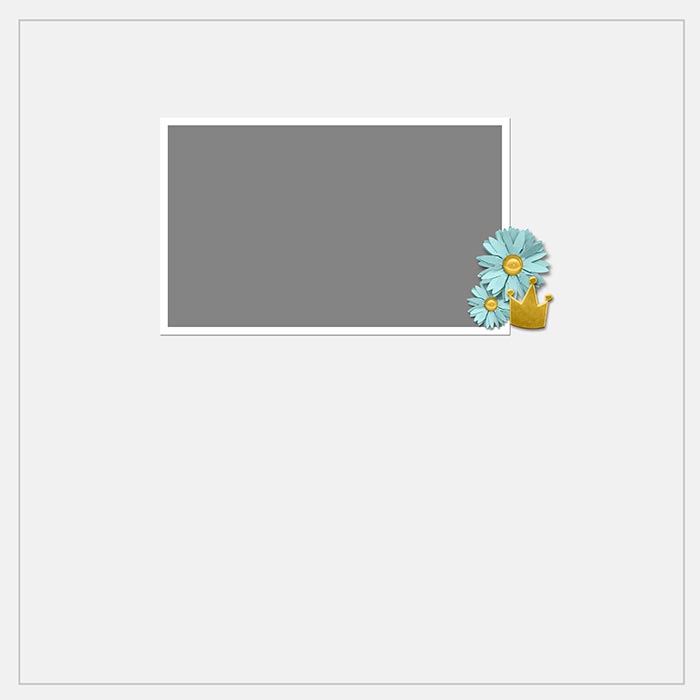
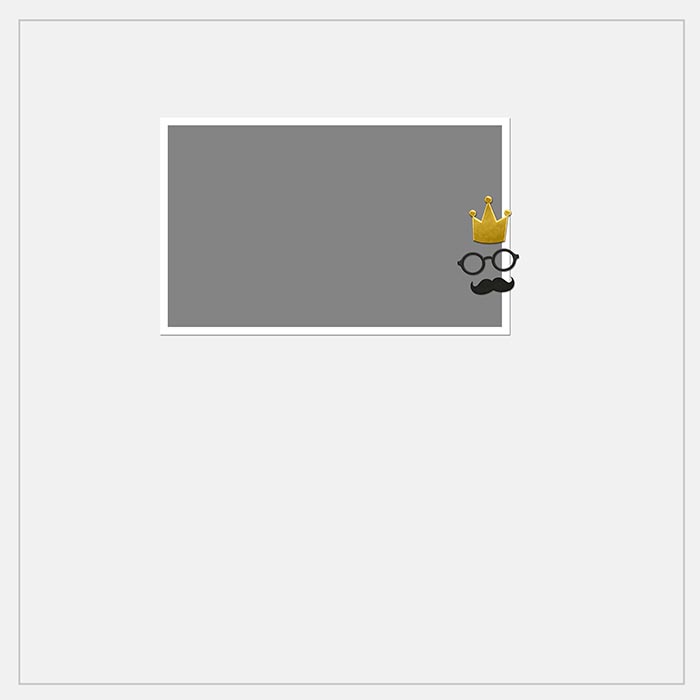
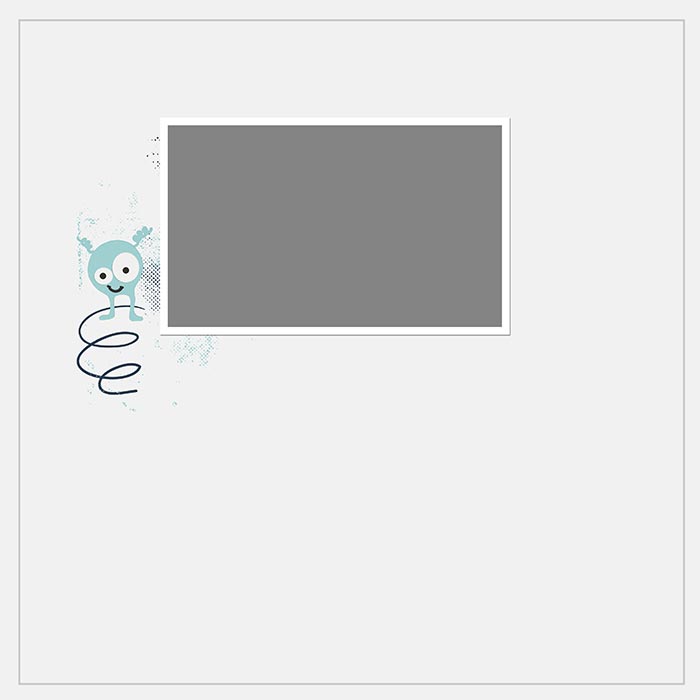
With this method you’ll think of the entire cluster as the shape, and you’ll choose one shape per cluster. Here’s how to do it:
- Start by identifying where you want to place the cluster.
- Choose the dominant element you want to use in the cluster.
- Based on the location and the dominant element, choose the shape you want for the cluster.
- Use three elements to build a cluster that strictly or loosely forms the shape you’ve chosen.
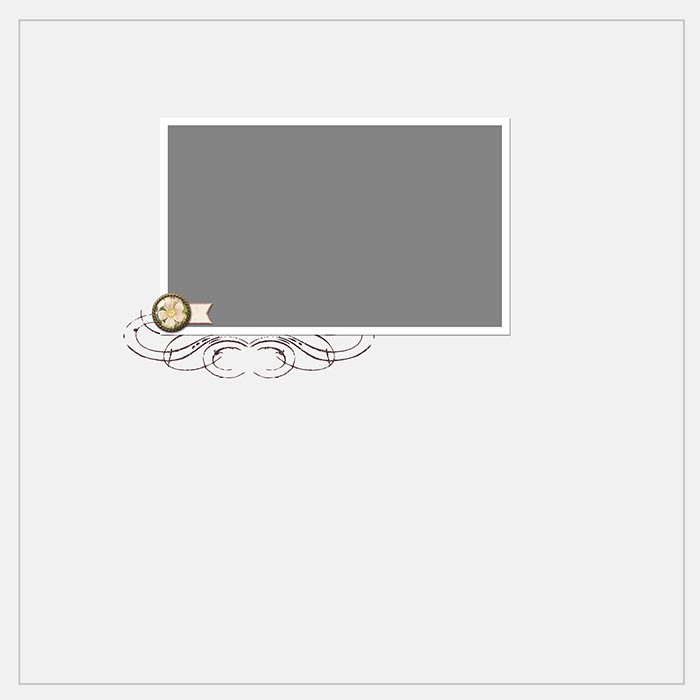
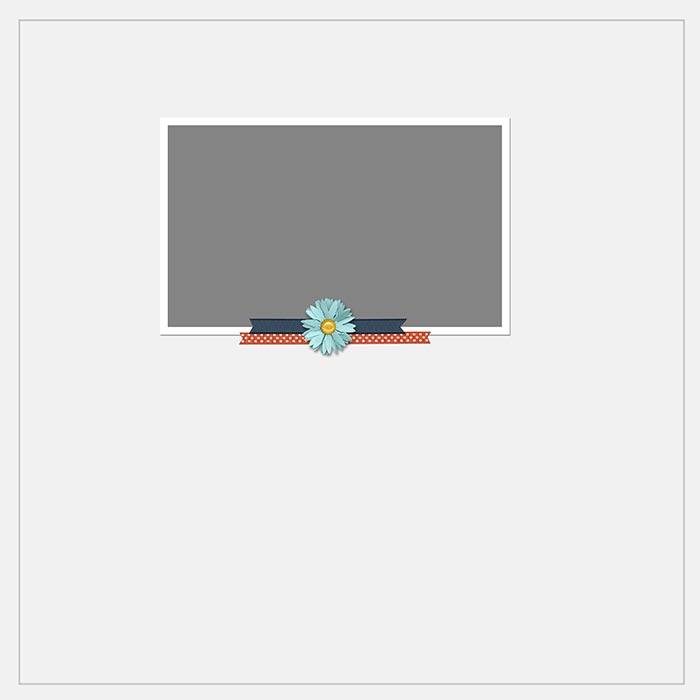
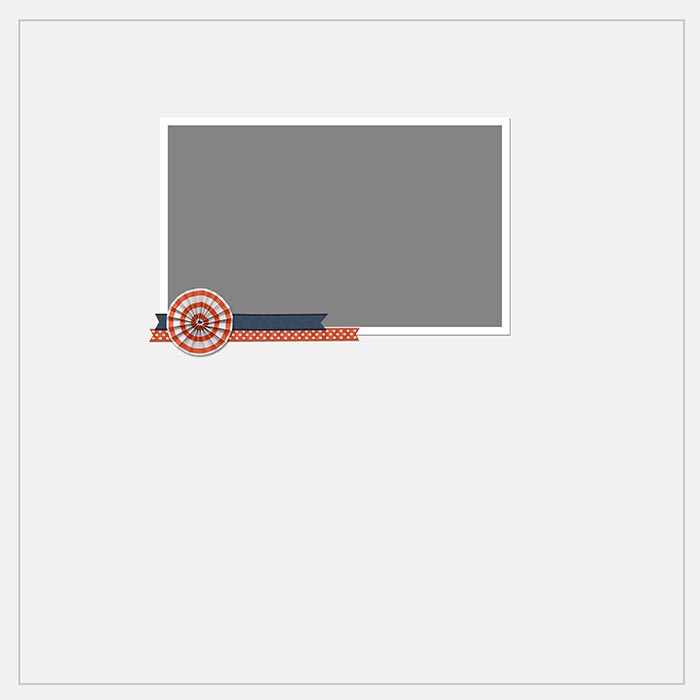
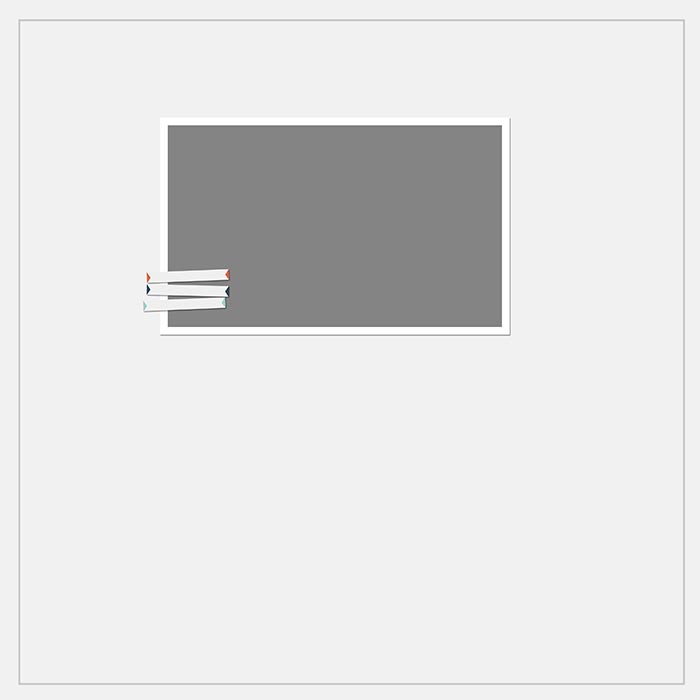
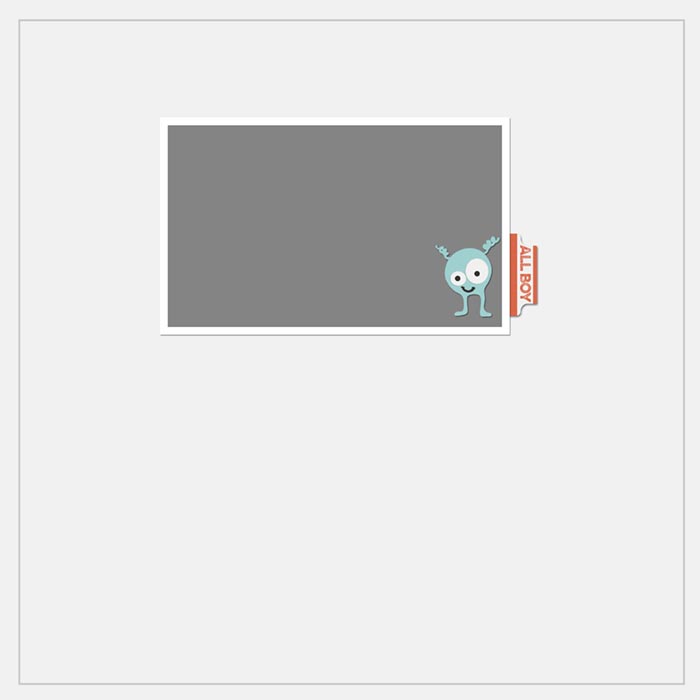
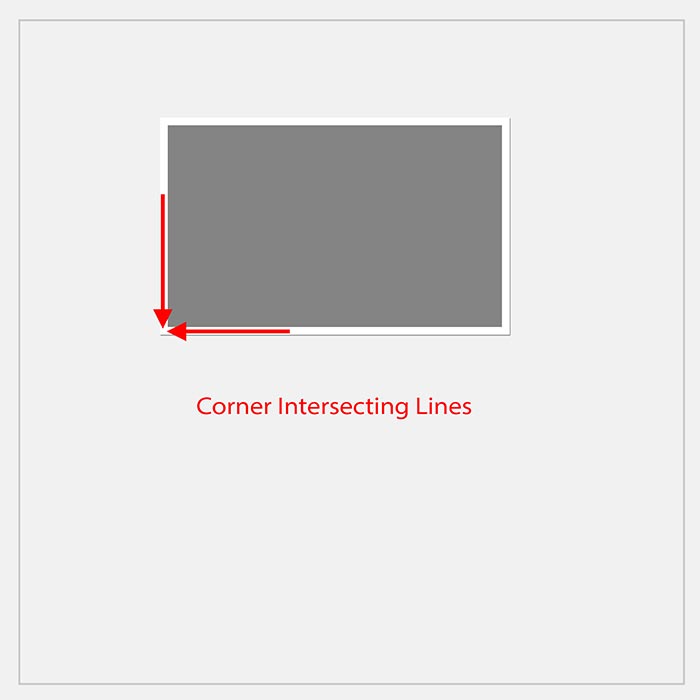
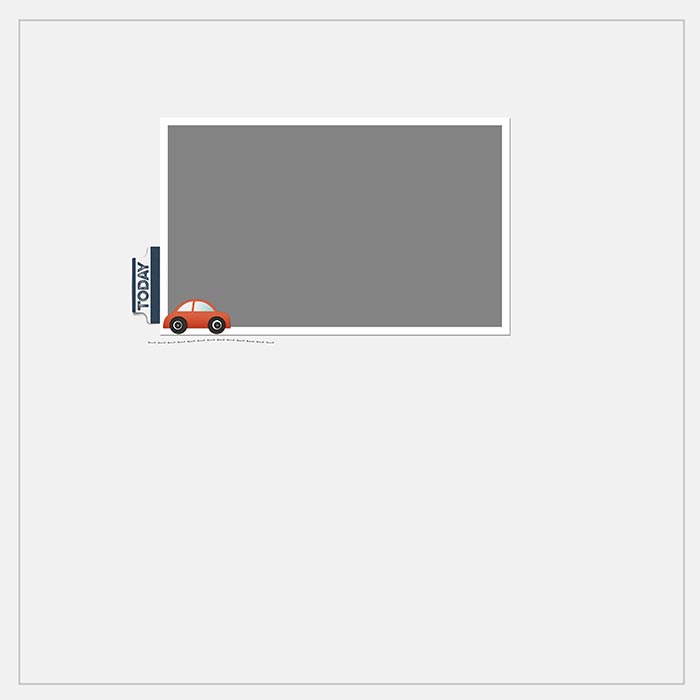
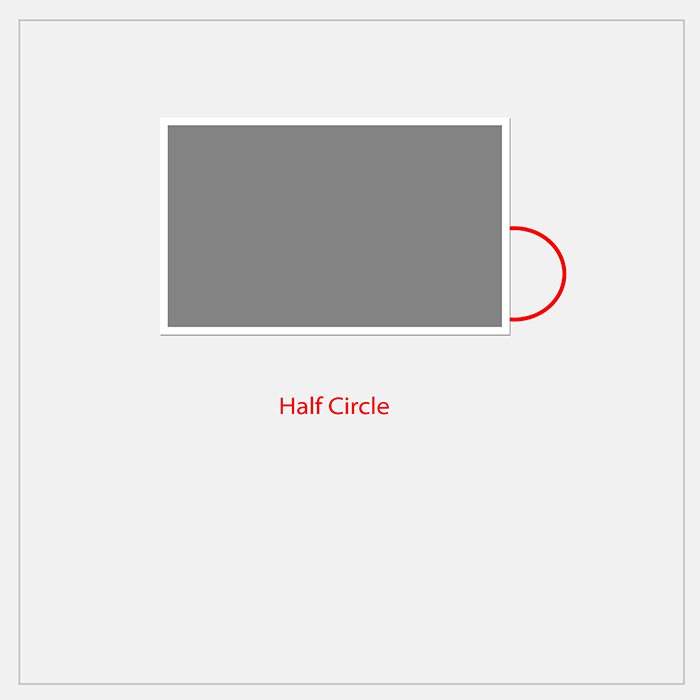
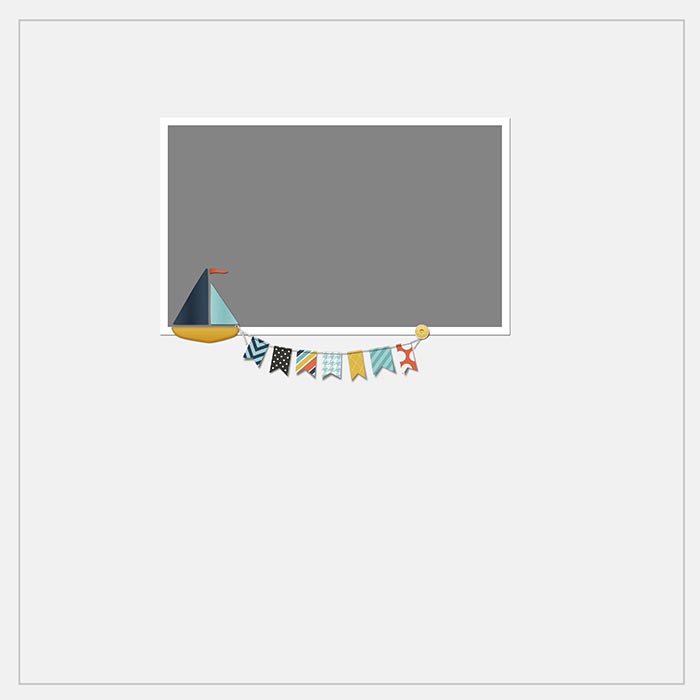
Let’s look at some examples. Watch the slide show and read my comments below the images.
Click an image to see a larger size. Design comments are below each enlarged image.
Credit
All elements from:
All About A Boy by Shawna Clingerman
and Perfect Harmony by Digilicious
LET’S WRAP THIS UP
Challenge!
It’s time to practice the “Cluster Shape” approach to creating clusters.
- Choose your kit. (Using elements from one kit can make it easier to create clusters.)
- Choose the main element you want to use in your cluster—the focal element.
- Choose a Cluster Shape that would show off the photo and focal element well.
- Choose two other elements that loosely fit within the cluster shape you’re using. (You can decide whether or not to use the 3 Step Cluster Recipe when selecting and placing the other two elements.)
- Make your final adjustments to placement and shadows as needed.
NOTE: There’s one secret ingredient to creating AWESOME clusters. Want to know what it is?
TELL ME
It’s practice, practice, practice—just like any other skill!
Here are some tips:
- Practice on a template with nothing else on it. This allows your mind to run freely and experiment.
- Use the Cluster Shape method to make as many clusters as you can in a specified time period—say 15 to 30 minutes.
- To speed up the process, see if you can swap out one, or even two, of the elements and keep one, forming a new cluster.
- Once you’ve made at least 10 clusters, choose a photo for your template.
- Finish designing your page using one of your newly created templates, or create a new one that matches your photo or theme better.
By the way, I followed all these steps myself and found it to be empowering!
SEE MY FINISHED PAGE
Here’s my finished page.
I love using a method rather than reinventing the wheel each time I create a page. That’s what these two cluster recipes give you—a starting point that helps you produce great clusters!
Credits
Page by Linda Sattgast
Kit: Perfect Harmony by Digilicious
Fonts: Northshire Script and Myriad Pro
Brought to you by Linda Sattgast

