Test Your Skills 4
Test Your Skills
The 4+ Cluster Recipe

So far we’ve had a series of three cluster challenges. In our fourth and final cluster challenge we’re going to kick it into high gear and work with multiple elements to achieve beautiful clusters. We’ll work from the concept of cluster shapes that I introduced in Challenge 3, but now we won’t be hampered by the number of elements. We can use as many as we want.
Cluster Shape Quick Review
To review, here are the cluster shapes I talked about in Challenge 3:
- Ellipse
- Horizontal Line
- Vertical Line
- Rectangle
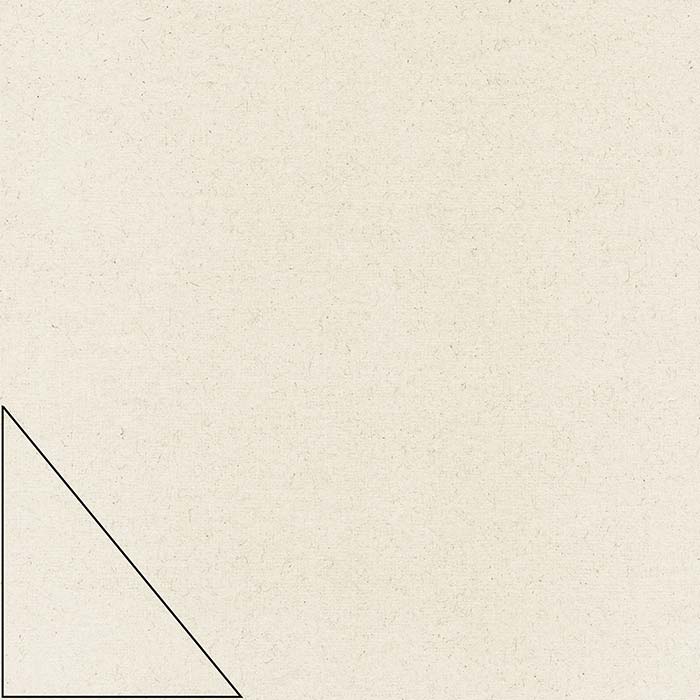
- Corner Intersecting Lines
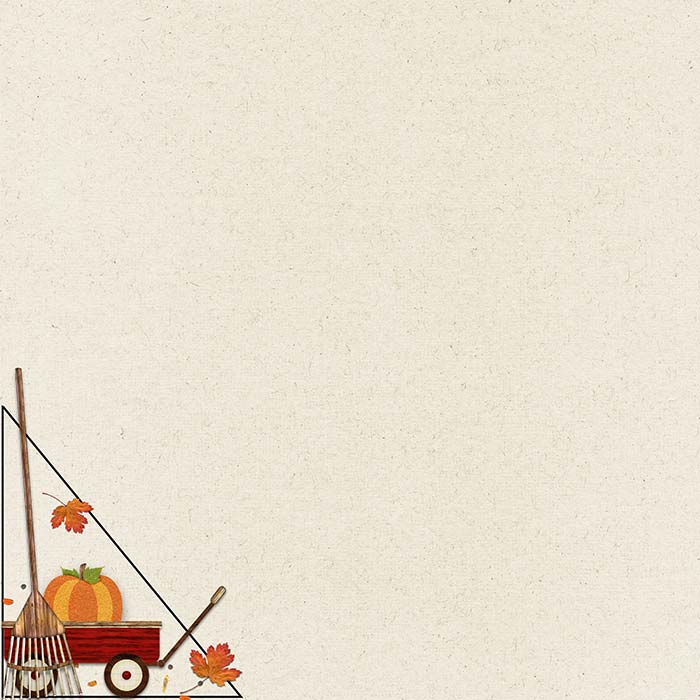
- Triangle
- Half Circle
- Crescent
We’ll build the cluster shapes using some very specific guidelines. I’ll show you two examples, and then you can take it from there.
CLICK TO START
4+ Cluster Recipe
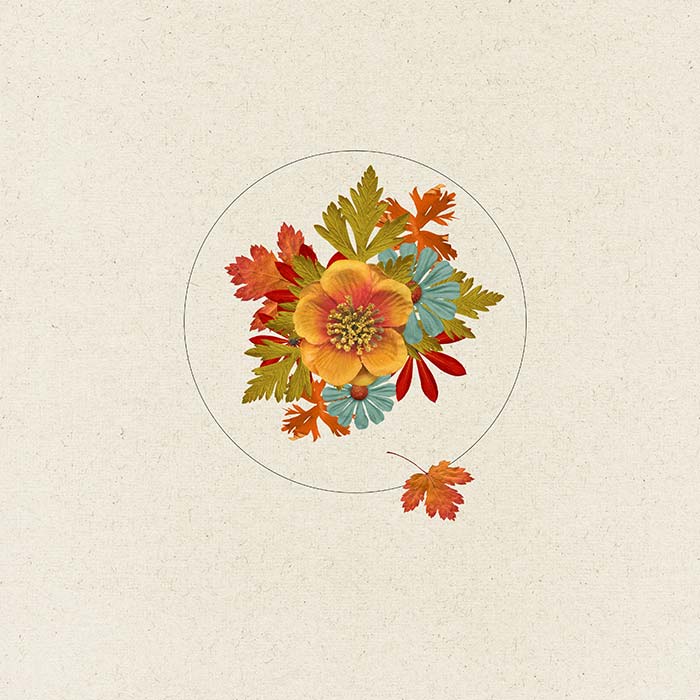
Use these five steps to create a great cluster:
- Decide on the cluster shape.
- Choose one favorite focal element.
- Add supporting elements that provide the framework to fill in the shape.
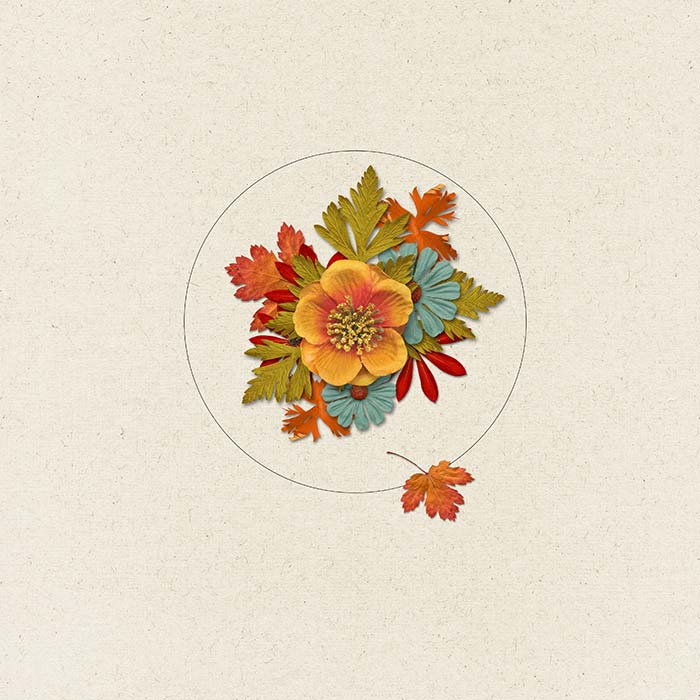
- Apply realistic drop shadows.
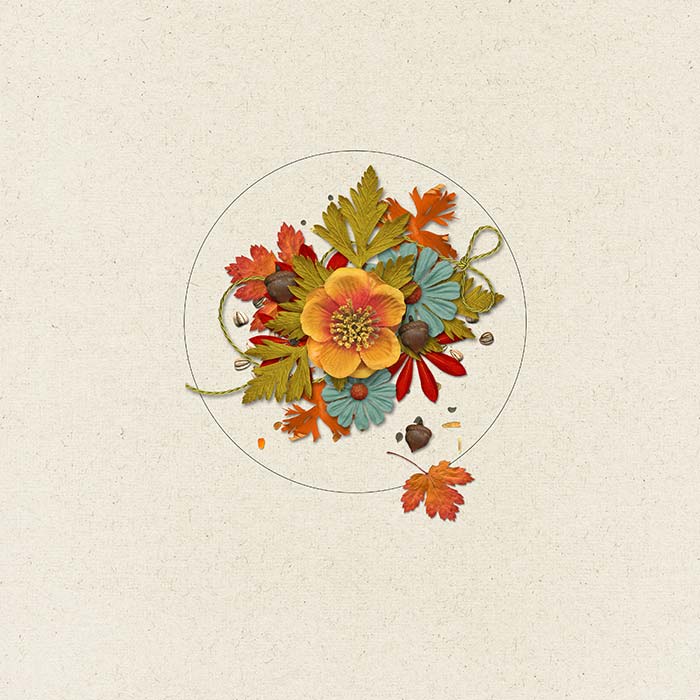
- Optional: Add filler elements to round out the cluster.
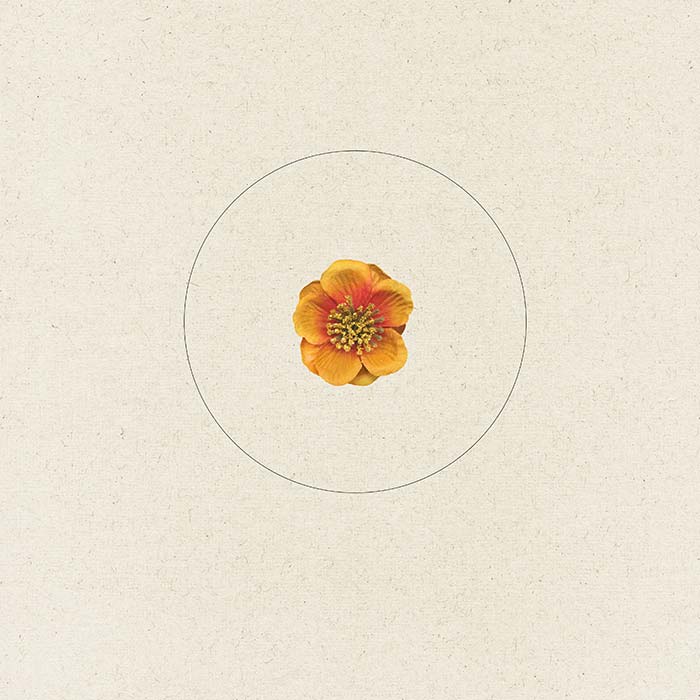
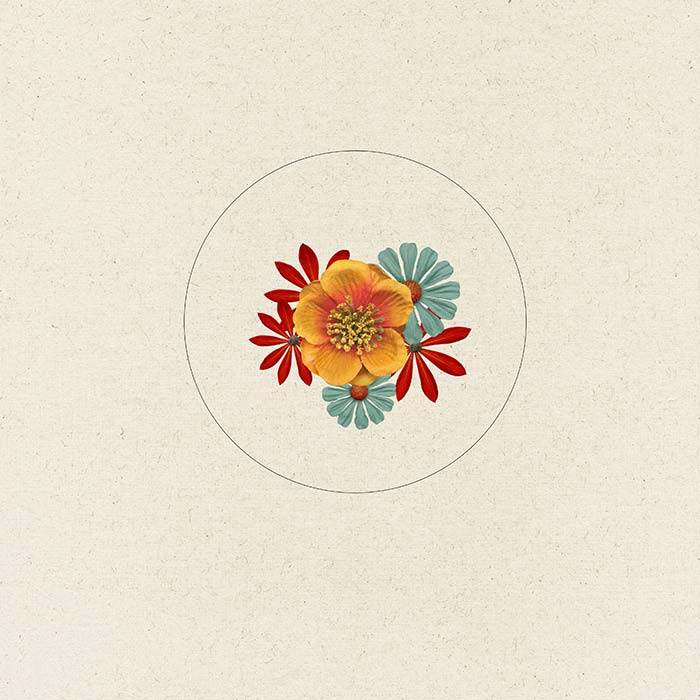
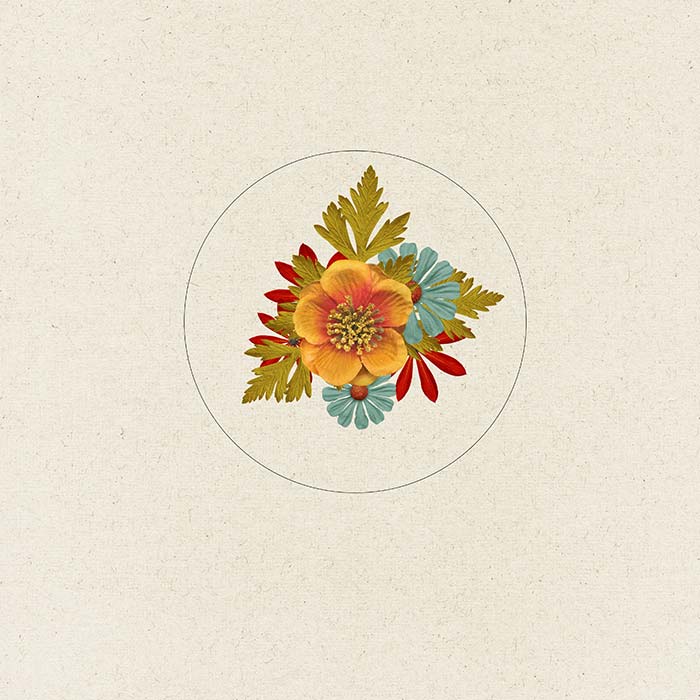
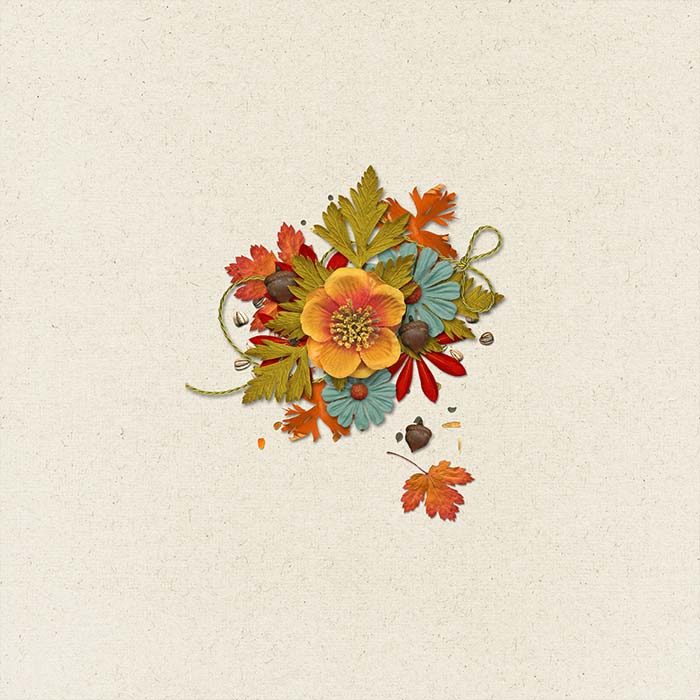
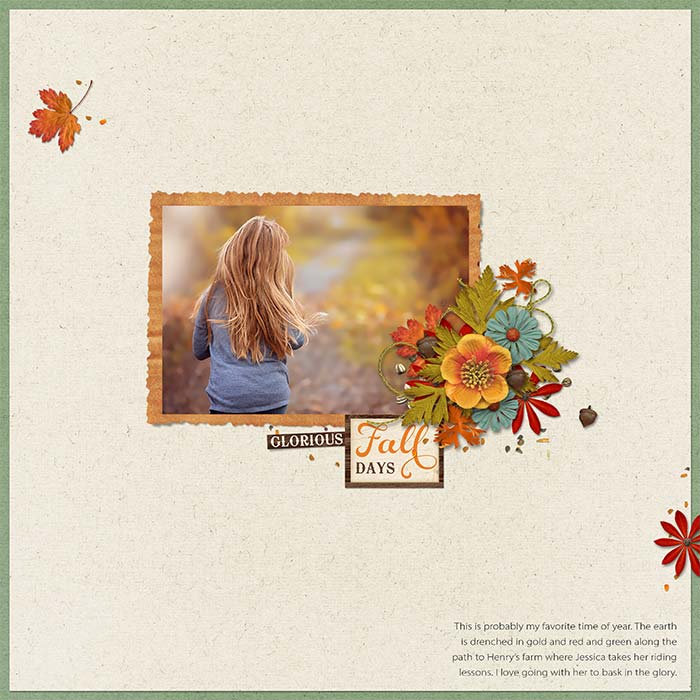
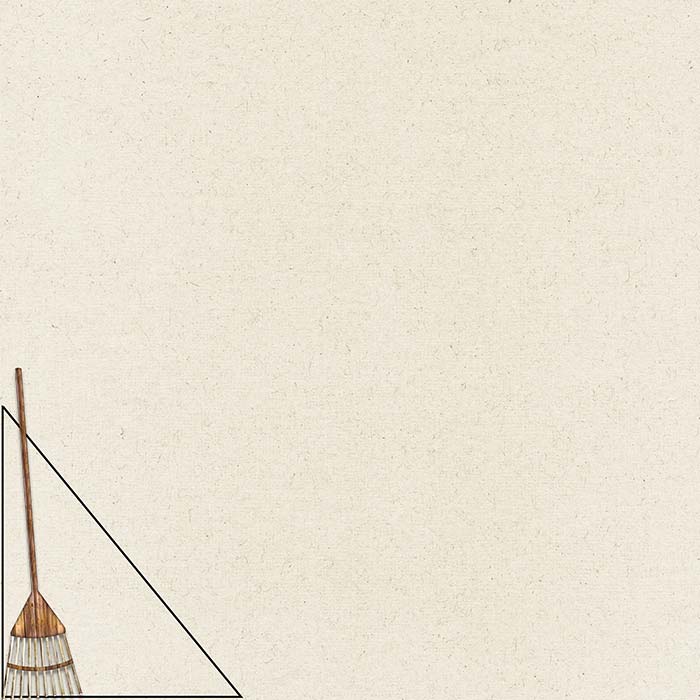
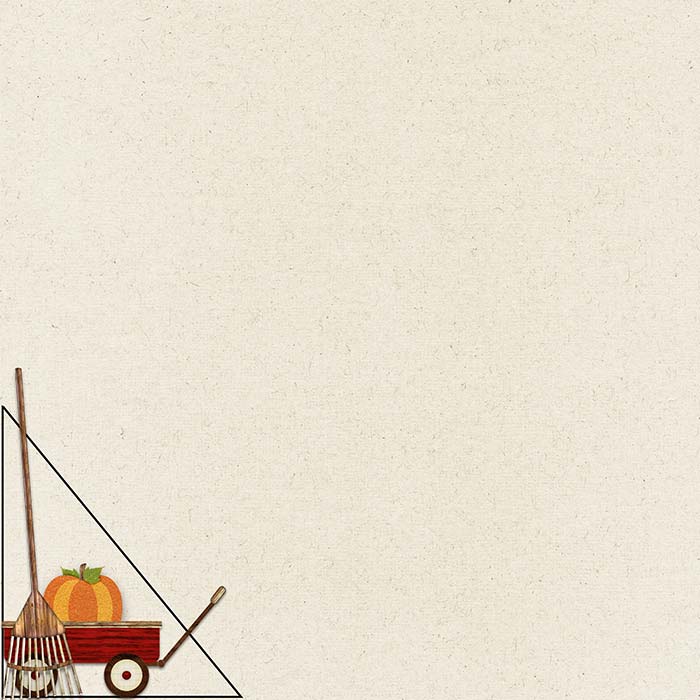
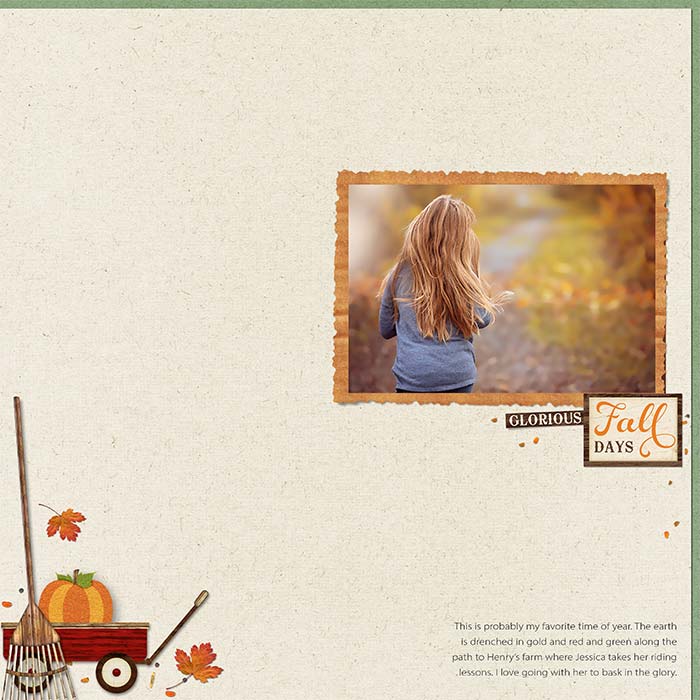
In the slide show below watch me go through these five steps in two examples.
Click an image to see a larger size. Design comments are below each enlarged image.
Now it’s your turn to try the cluster recipe:
4+ Cluster Recipe
- Decide on the cluster shape.
- Choose one favorite focal element.
- Add supporting elements that provide the framework to fill in the shape.
- Apply realistic drop shadows.
- Optional: Add filler elements to round out the cluster.
ONE FINAL THOUGHT
Even as you practice making clusters with four or more elements, keep in mind that simplicity is usually better.
So save larger clusters for an occasional page and get really good at making smaller clusters for most of your pages. You’ll scrap faster and most likely your pages will look just as good or better!

Credits for All Pages
Pages by Linda Sattgast
Kit: Autumn Days by Kristin Cronin-Barrow
Font: Myriad Pro
Brought to you by Linda Sattgast

